

As I said in my previous post, we did most of Day 3 of the Three Capes Track (the walk out to Cape Pillar and The Blade) as part of Day 2. We knew that the weather was going to be rotten on our third day. This meant about 7.5 hours of walking in one day and a minor injury for me but the views were worth it! The absolute highlight of this walk is standing atop The Blade, with 360’ views of Cape Raoul, Cape Hauy and Tasman Island, but I’m getting ahead of myself…
Cape Pillar

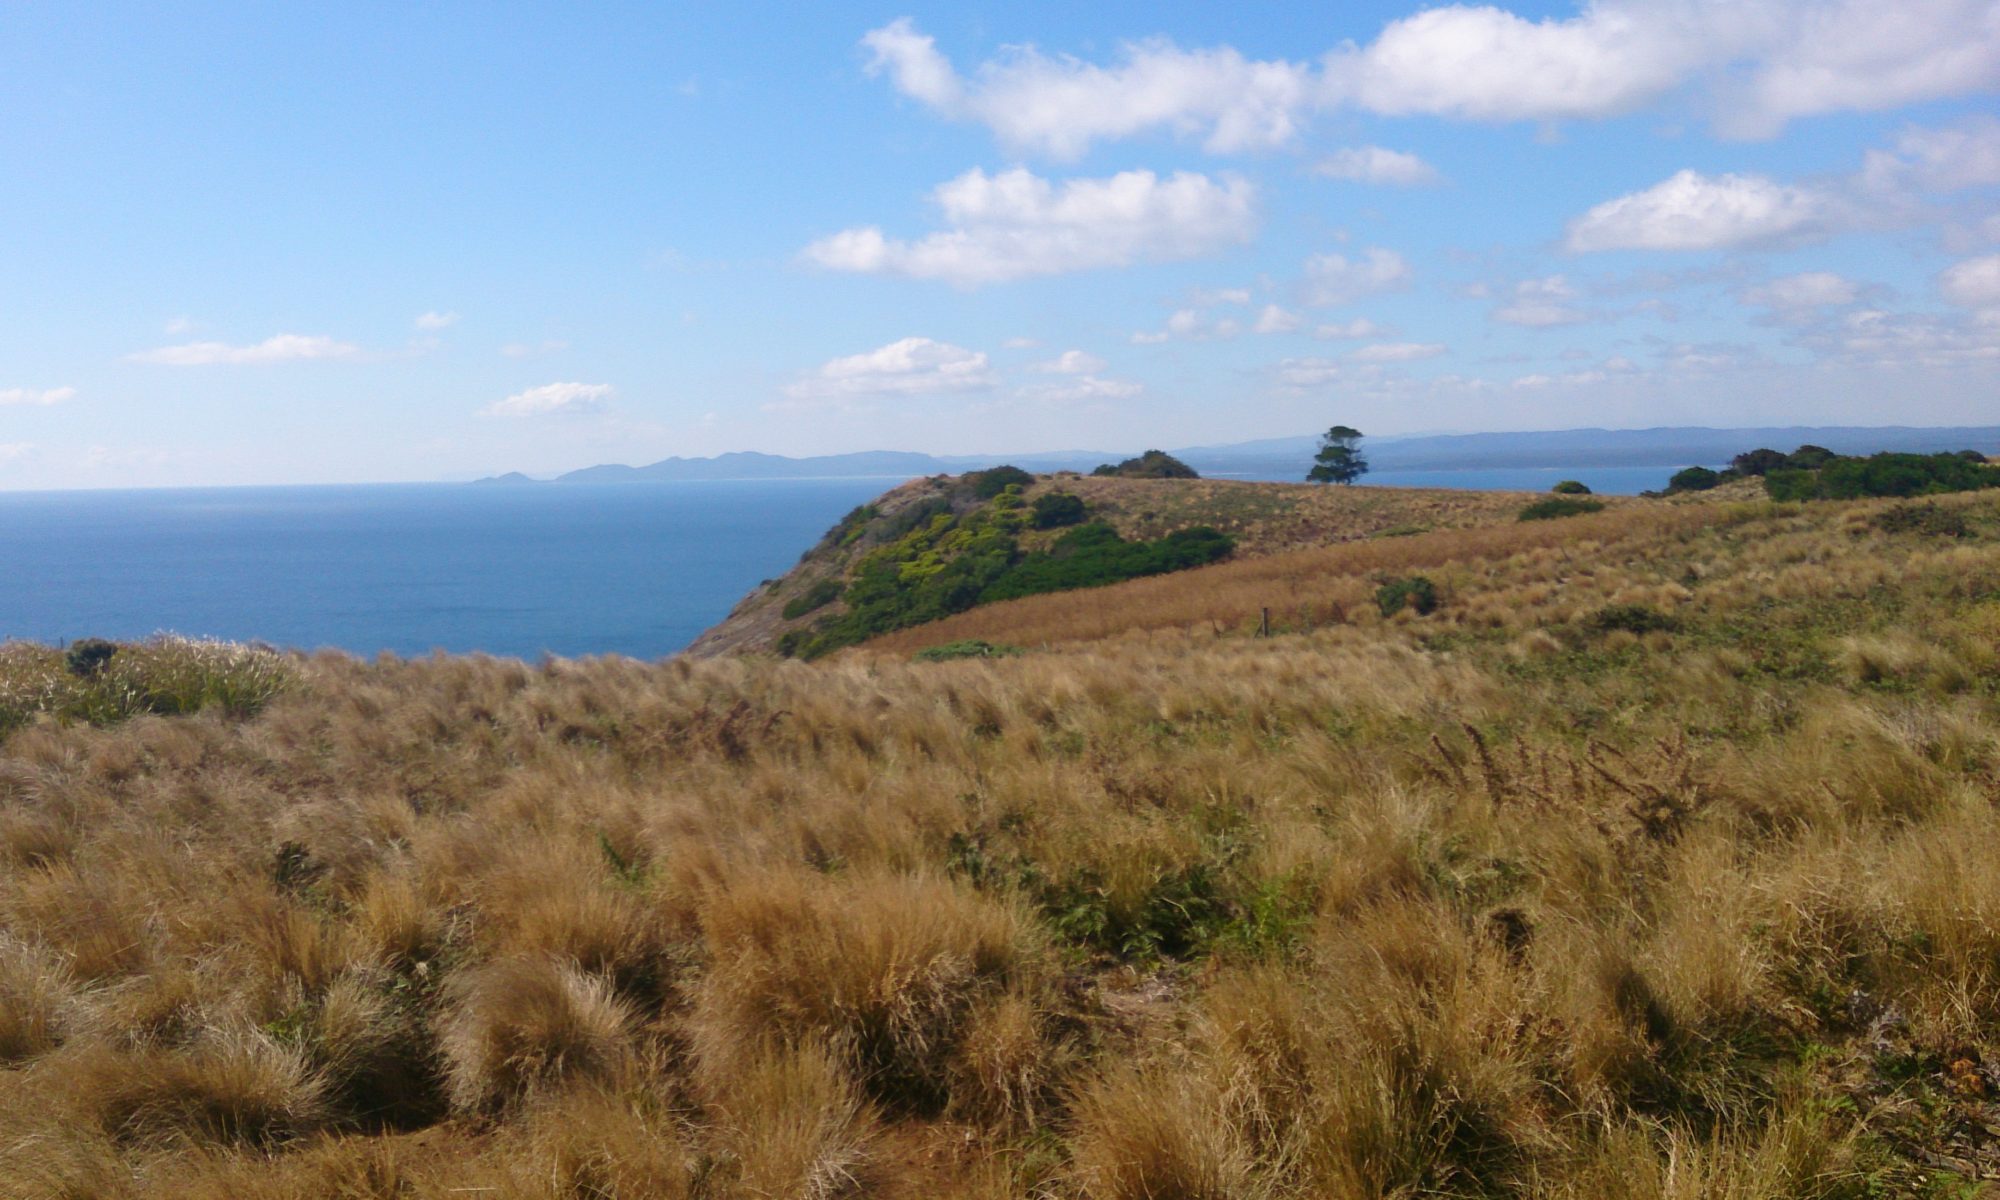
Leave your pack at Munro in the “garden variety Garden shed,” as ranger Ken instructed us. This is down the track, just beyond the sleeping quarters. Not having to carry the extra bulk is a huge relief! From here, keep walking “until you can’t walk any further” (again, instructions from Ken!). Take note of your surroundings as you go: Forest, button-grass, cliff’s edge, windswept scrub. Each has its own beauty.

The track on Day 3 is particularly brilliant. See just how big a blue whale is from the markers on the track. Walk along the back of a 2.4km duck-board snake. Spy tiny flowers, hinted at in mosaics. Descend white, wooden steps, curving their way towards The Blade. Step out onto a tarn (small, shallow lake). It’s a very snap-happy day!

Take the time to go out to the “Seal Spa”. The seats are particularly well-formed and the views of Tasman Island are magnificent. You can see parts of the old tramway, the lighthouse and the three houses. The Ancient Mariner spent eight hours becalmed beneath Tasman Island a few years ago. Despite previously saying, “I’ll be happy if I never see that lighthouse again!”, even he lapped up the views!
The Blade

When you reach the end of the track, keep going at your own risk. Mind you, the steps continue to be well-formed and the views from The Blade are awe-inspiring! There is also a certain kudos to be gained from saying, “I’ve stood there!”. The Ancient Mariner was not inclined to reach the top due to vertigo but eventually made it. His main disappointment is that the photo someone took of him there shows his face… and none of the backdrop! Oh dear! I can assure that he made it to the top!
The Huts

From The Blade, you’ll back-track back to Munro for a bite to eat, a toilet-stop and a last chance to read the (astonishing!) story of the makers-model of the Nord that is housed within the hut. From here, it’s an hour and a bit to Retakunna, the wildlife paradise (wombats and wallabies!) where you’ll spend your final evening. We arrived to see the helicopter in action – workers being flown in and out.

The entire set-up of the accommodation is first-class. Everything has been thoughtfully crafted, from the helicopter-ready poop pods and gas frames to the sliding doors on the communal huts to the poo facts on the toilet signs. The library in all three huts remains the same (one of our fellow walkers found a minor discrepancy!) so that you can pick up the same book and keep reading when you reach the next hut. It is a bushwalking experience unlike any other!
For more information about my Three Capes Track experience, read the overview or my summaries of Day 1, Day 2 or Day 4. Alternatively, read about places to visit on the Tasman Peninsula or in Tasmania’s south.